You’ve written the copy, designed the template, and scheduled the send. But before you hit deploy, there’s one more step that separates polished email campaigns from embarrassing mistakes: a pre-deployment checklist.
Email can break in dozens of ways, from rendering issues to broken links and incorrect personalisation, so a quick, tick box round of testing helps ensure you’ve done everything you can so subscribers see exactly what you intend.
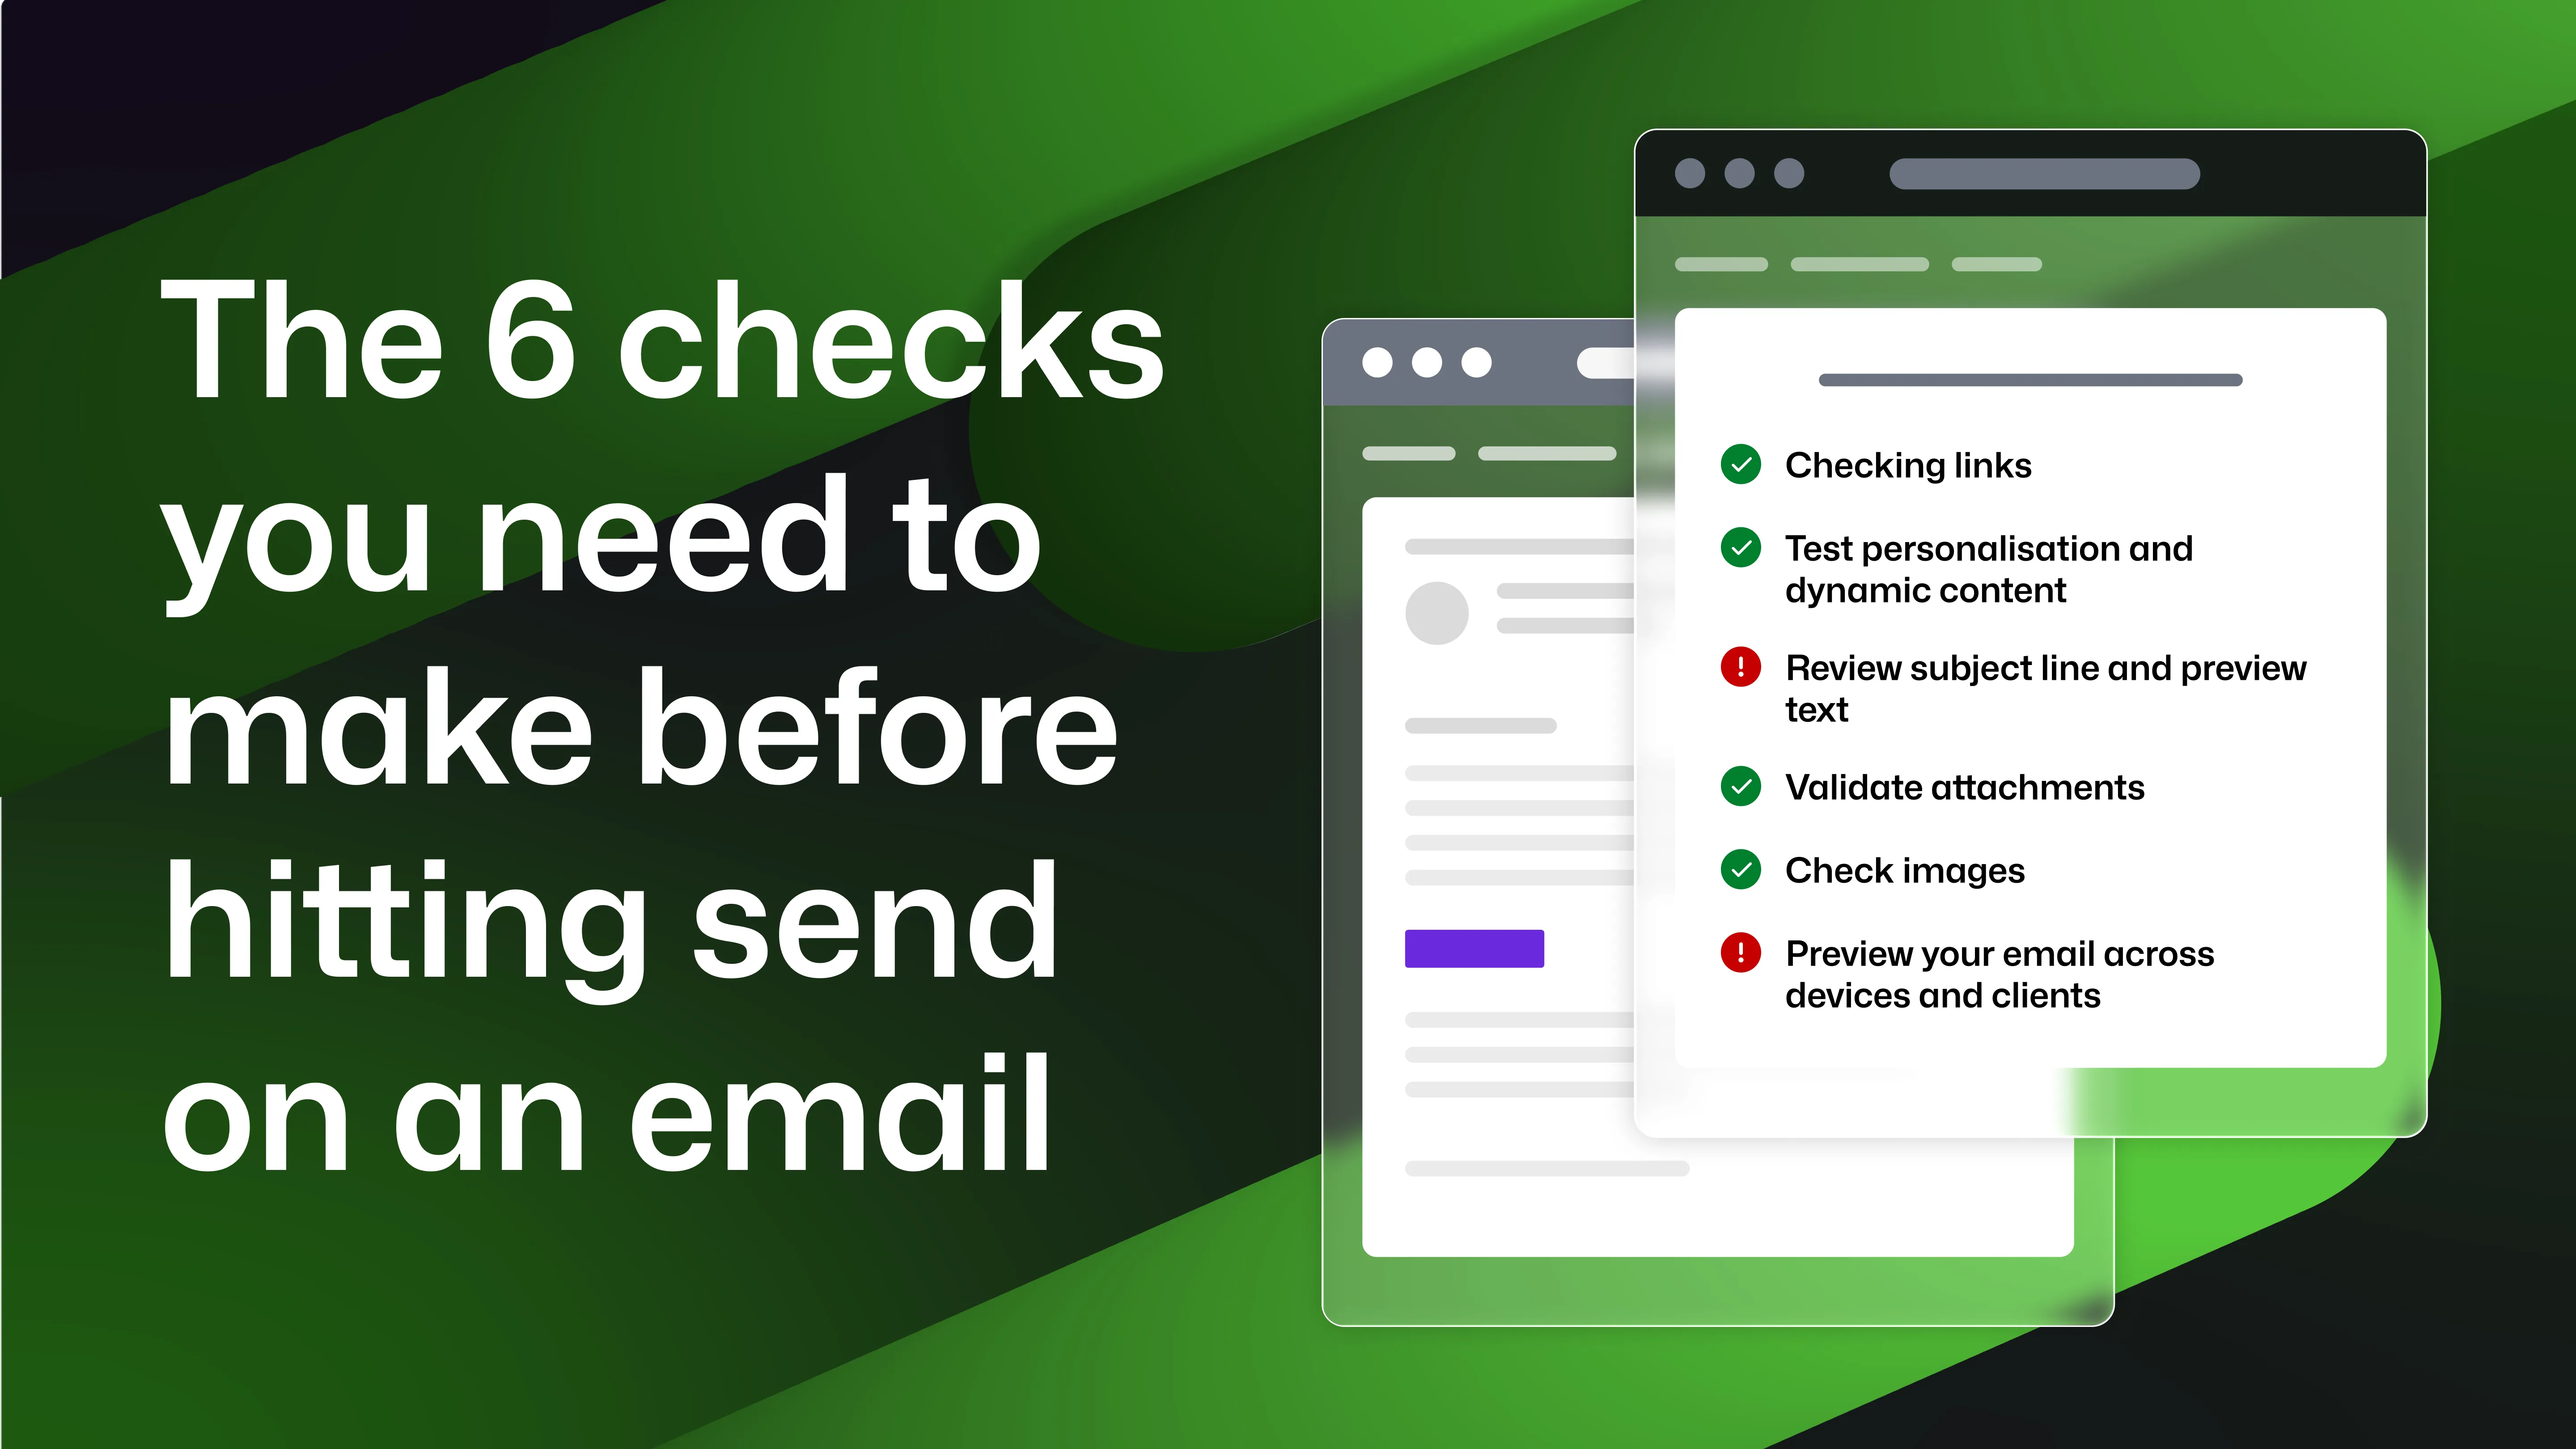
Here’s your simple pre-email deployment checklist to run through before every send:
1 - Check every link
Links in your emails often form a key part of your user journey; so, if one is broken, it can be the difference between one of your customers completing a key action, like verifying their account, and giving up entirely.
Make sure to verify that all calls to action (CTAs) point to the correct destination, links open correctly on mobile devices, and that no staging URLs or localhost links remain. This is also a great time to double check you’ve included any tracking links or UTMs so you can learn from every message. Automated link checking is also great option, which helps ensure every URL in the email resolves successfully.
2- Test personalisation and dynamic content
Personalised emails rely on merge tags, dynamic blocks, and user data. If something goes wrong, recipients might see errors from “Hello {{first_name}}”, to empty fields, or even the wrong name entirely.
Always send test emails with realistic data to confirm that your personalisation tokens work correctly, conditional content displays as expected, and, when data is missing, your fallback values are working as you expect. You may also employ automated testing to simulate real user data to verify these scenarios before deployment.
3- Review subject line and preview text
To put it bluntly, your subject line and preview text will determine whether your email gets opened at all.
As such, it’s always a great idea to double check preview text complements the subject, and it’s not so long that it’s truncated on mobile. This is also a good time to check for typos, as well as ensure that your copy is enticing (OR clearly presents what action they need to complete within!)
4- Validate attachments
If your email includes attachments, it’s good practice to confirm that:
- Files are attached correctly
- The file size isn’t excessive (and certainly that it’s well within the email attachment limit)
- The correct version is included
- Attachments open without errors This will save you time in the long run, due to the influx of support cases you’ll receive should you send the wrong document.
5- Check all images
It’s important to consider imagery in your emails for a number of reasons, not least because your email must be built to make sense without them. From rendering issues, to accessibility requirements, to being blocked by security protocols, there’s a number of reasons your recipients may not see what you’ve sent, so it’s important to: - Initially, check images render as they should within your email, and are of a suitable resolution - Check they scale with each device appropriately (see #6 on this list) - Prepare for users not seeing your images by including alt text for every image - Test your images across light and dark mode to ensure sufficient contrast ratios
6- Preview your email across devices and clients
Never underestimate the power of previewing your emails before you hit send. You wouldn’t do a speech to a thousand people without running it through first, and you shouldn’t send an email to a thousand people without the utmost scrutiny, especially when customer trust could be impacted.
Email rendering varies dramatically across clients. What looks perfect in Apple Mail might look broken in Outlook or Gmail.
Before sending, it’s crucial to preview your email across a range of desktop clients, devices, and across light and dark mode too to ensure you cover all bases. This is the key to catching issues such as:
- Misaligned layouts (for example, where an email you’ve designed on desktop is viewed on a small phone and everything has shifted)
- Font rendering problems (some clients cannot render web fonts)
- Broken responsive behaviour
- Dark mode issues (like unreadable text or invisible logos) Testing tools like Mailosaur can generate screenshots across dozens of environments so you can quickly spot inconsistencies for yourself.
Prevent costly mistakes
Mistakes are easy to make when it comes to email, and unlike other formats, there’s no getting it back once you’ve hit send. That’s why it’s always worth taking those extra few minutes to go through this checklist and avoid sending a broken email to your audience.
Should you find yourself low on time to make these checks, don’t forget you can always automate testing where possible, and find a balance between manual and automated checks that works for your team.
If you’re new to the world of automated testing or email previews, or you’d just like to try something new, sign up for your 14-day free trial of Mailosaur, or book a demo with our team.