Looking to get started with Cypress after hearing about this testing tool? If so, this article is for you!
In this guide, we’ll walk you through the Cypress installation process, before showing you how to create and run your first Cypress test. Let’s dive right in.
What is Cypress?
Cypress is an end-to-end testing framework that has won over developers and testers for its ease of use and flexibility. To use Cypress for your browser test automation, you’ll need to write your tests in JavaScript. Once your code is ready, you’ll be able to repeatedly run test cases using a real browser.
What makes Cypress unique is its batteries-included approach: all the tools required for end-to-end testing are already part of the Cypress framework, and there’s no need for anything extra. Fewer tools to install means faster setup and more time to write tests. Because Cypress’s components are well-integrated, its tests are usually more stable than end-to-end tests using other frameworks.
Sounds promising, right? Let’s get started by installing Cypress, before writing our first Cypress test and running it.
Installing Cypress
Cypress runs on Windows, Mac, and Linux systems. To install Cypress, you’ll first need to ensure that you have Node.js installed and available on your machine.
To check whether you have Node.js installed, run node --version in your terminal:
$ node --version
16.0.0
If you get an error, Node.js might not be installed. You can download a Node.js installer for your operating system from the official Node.js Downloads page.
Once you get a version number back ( 16.0.0 is the latest version as of this writing), you can proceed with next steps.
Note: if you’re running on Linux, make sure to install the required additional packages.
Installing through npm (recommended)
If you’re using npm to manage Node.js dependencies in your project, you can install the Cypress module by navigating to your project directory and then running npm install cypress:
$ cd your/project/path
$ npm install cypress --save-dev
Done! Cypress is now installed.
Installing through yarn
If your project is already using yarn for Node.js dependencies, use yarn to install the Cypress module:
$ cd your/project/path
$ yarn add cypress --dev
And that’s it! Cypress should now be ready to go on your system.
A default Cypress folder structure
During installation, the Cypress module will create a default Cypress folder structure. This lets you know where to place the various Cypress files when writing your initial tests. Here’s how the structure looks:
$ tree -I node_modules -L 3
.
├── cypress
│   ├── fixtures
│   │   └── example.json
│   ├── integration
│   │   └── examples
│   ├── plugins
│   │   └── index.js
│   └── support
│       ├── commands.js
│       └── index.js
├── cypress.json
├── package-lock.json
└── yarn.lock
Make note of the examples folder. When we launch Cypress in the next step, you’ll see a few example test cases displayed, and these will be located in that examples folder.
Launching Cypress
Once Cypress is installed, the framework’s binaries will be available under the standard ./node_modules/.bin/cypress path. To launch the Cypress test runner, use npx if you installed Cypress using npm:
$ npx cypress open
If you used yarn, use the following command instead:
$ yarn run cypress open
You should now see a Cypress test runner window on your screen with a few example test cases.
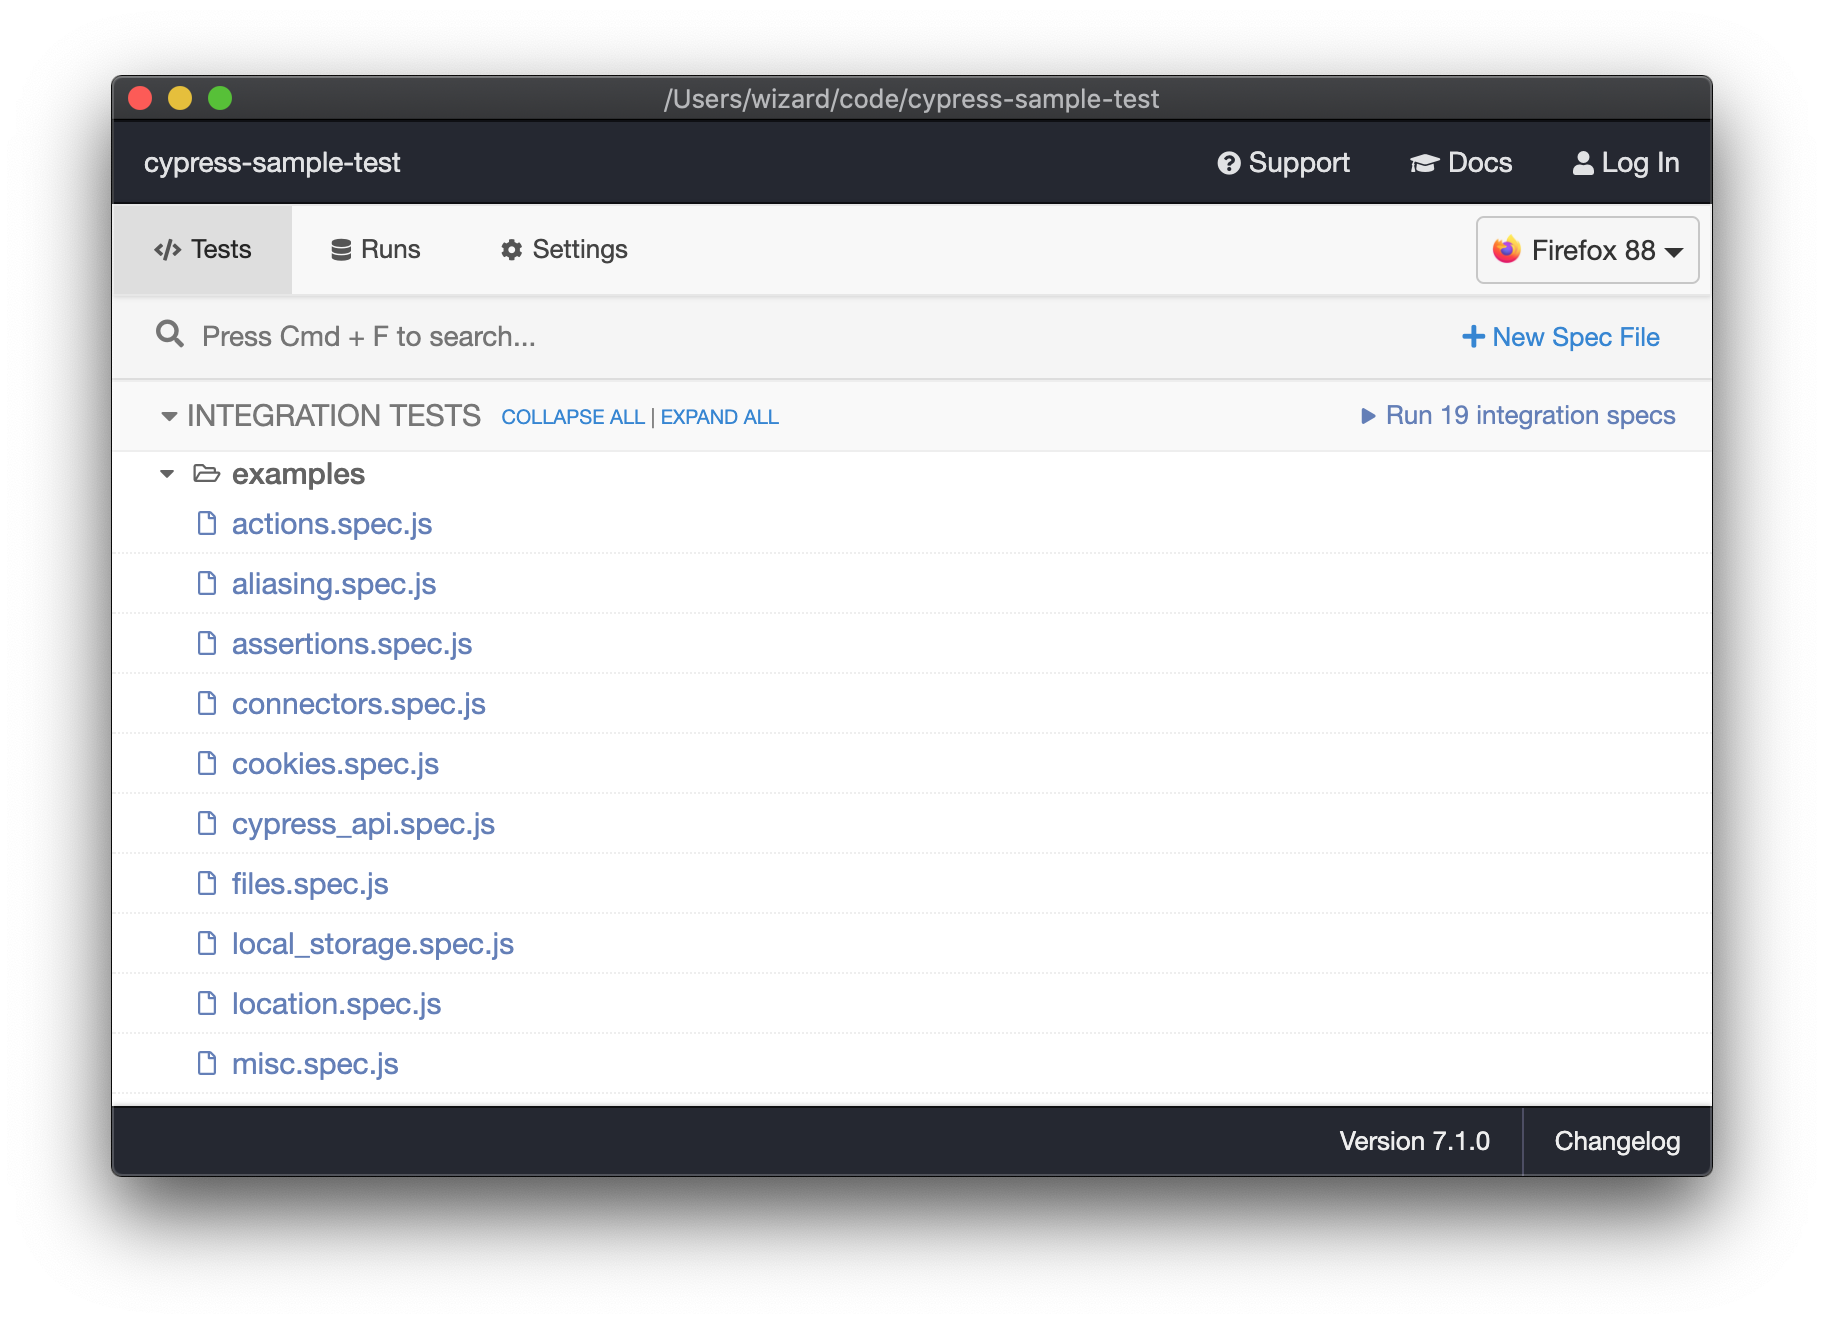
In the next section, we’ll write a Cypress test and run it.
Writing and running a simple Cypress test
To create a simple Cypress test case, we start by creating a test file with a .cy.js extension in the cypress/e2e directory:
$ touch cypress/e2e/sample-action.cy.js
We then edit the file to include a few instructions:
- Visit IANA’s page on reserved domain names.
- Find the reserved domain for Modern Greek and click its link.
- Validate that we end up on the page for the domain
.ΔΟΚΙΜΉ.
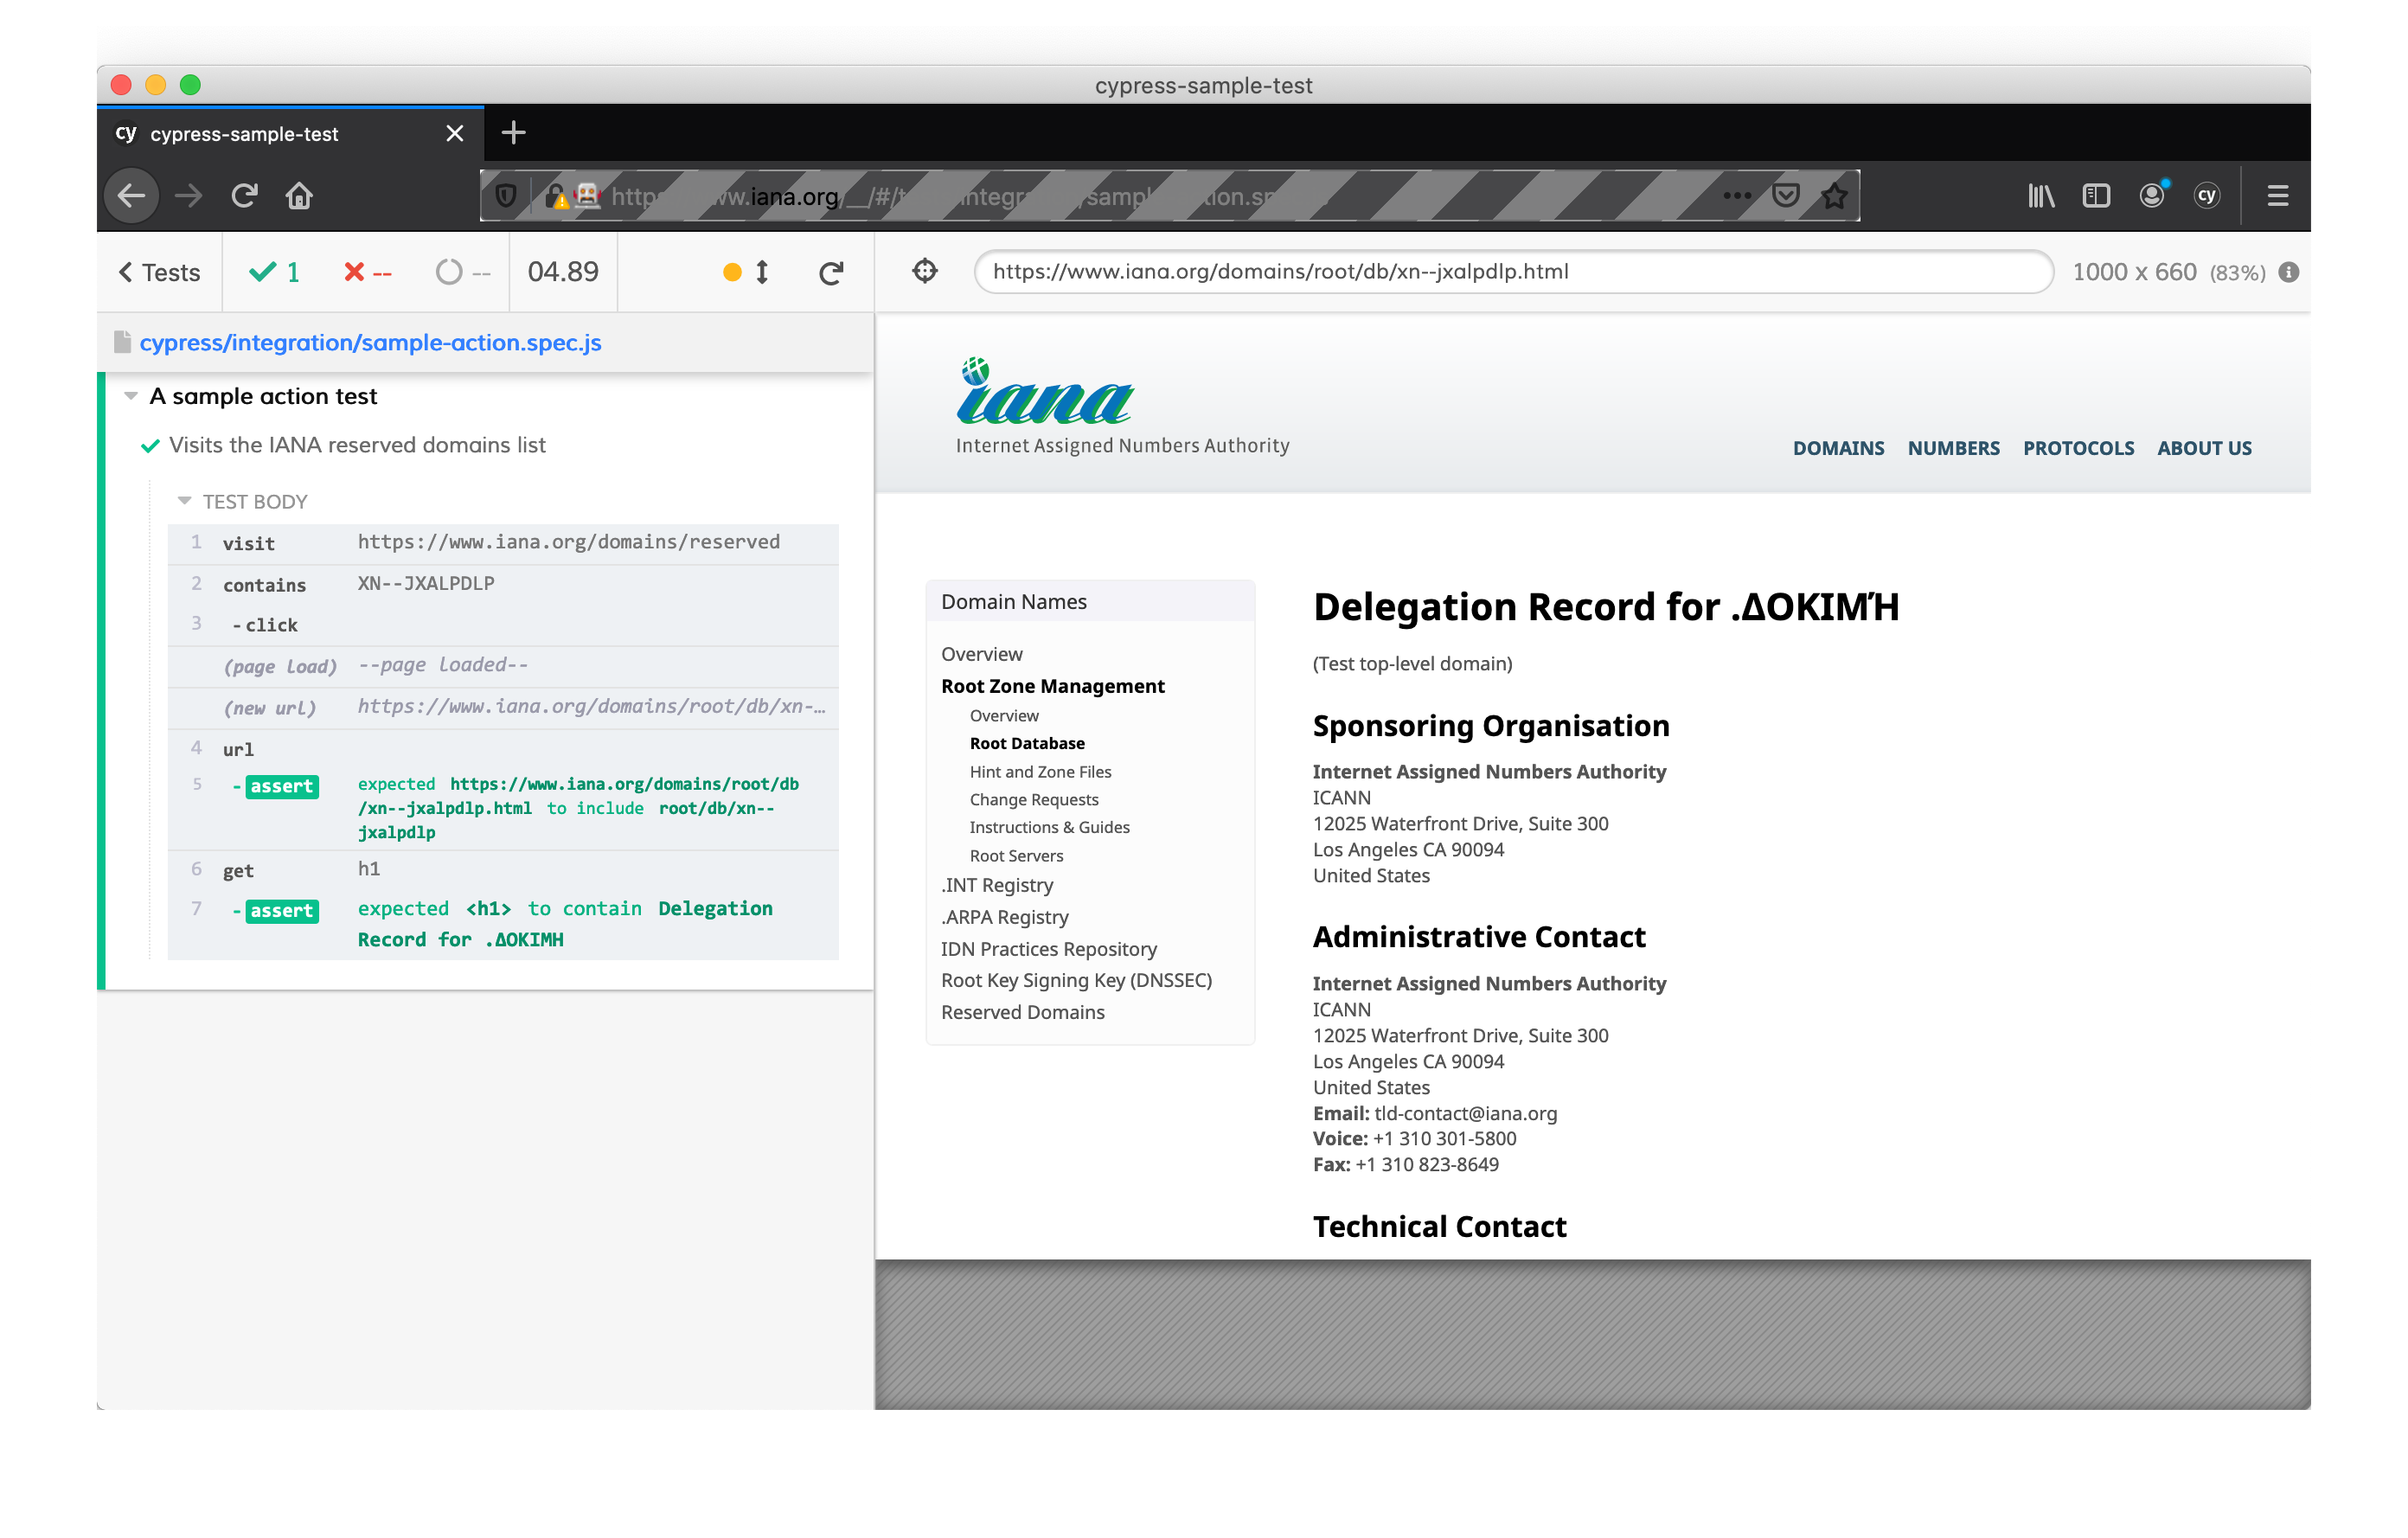
Here’s the Cypress test case that reflects these instructions:
// cypress/e2e/sample-action.cy.js
describe('A sample action test', () => {
  it('Visits the IANA reserved domains list', () => {
    cy.visit('https://www.iana.org/domains/reserved')
    cy.contains('XN--JXALPDLP').click()

    cy.url().should('include', 'root/db/xn--jxalpdlp')
    cy.get('h1').should('contain', 'Delegation Record for .ΔΟΚΙΜΉ')
  })
})
We use the following Cypress commands:
visitto navigate to the IANA website;containsto find an element on the page andclick()to click it;url()to get the current URL;get('h1')to get the H1 heading;- Two
shouldmatchers for the URL and the H1 heading’s content.
We cover more types of Cypress assertions below.
After adding the test case code, we launch Cypress through npx cypress open and see our new test case in the file list:
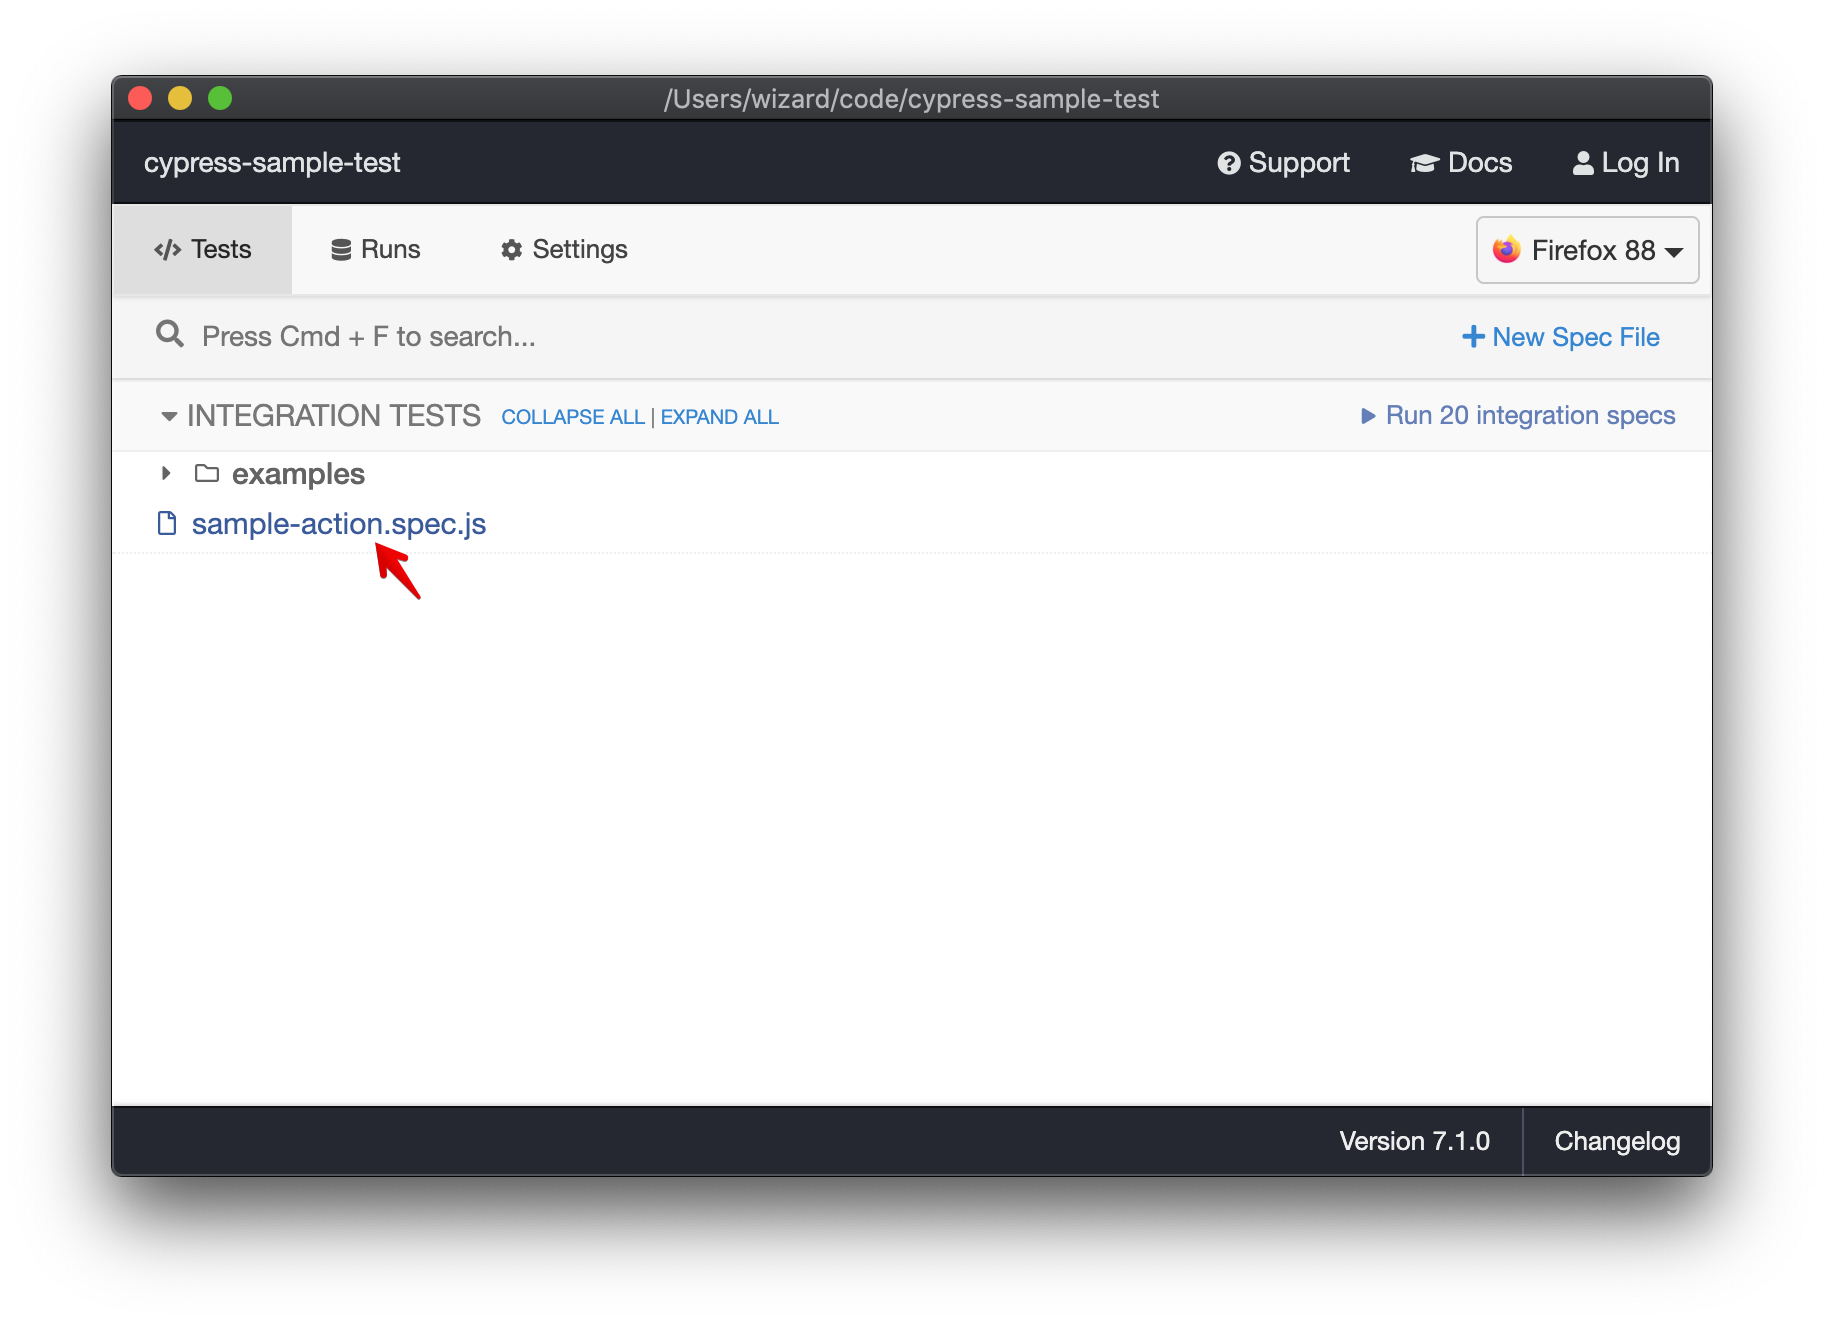
We can run the test by clicking on the relevant test case. Cypress will automatically launch the selected browser (in this case, Firefox) and run the test case.
A few common Cypress commands
Cypress supports many action types, but even the basic visit and get commands can be powerful when testing website functionality. For example, if we wanted to test filling out a form, we could use type to enter text into a form field, before inserting the submit command.
Here’s an example of a Cypress test case to request a password reset email in a test application:
// cypress/e2e/sample-action.cy.js
describe('Password reset', () => {
  it('Makes a Password Reset request', () => {
    cy.visit('https://example.org/password_reset')
    cy.title().should('equal', 'Forgot your password?')
    cy.get('#email_field').type(testEmail)
    cy.get('form').submit()
  })
...
}
A powerful feature of Cypress is the ability to add custom commands through plugins. For example, our [cypress-mailosaur](https://github.com/mailosaur/cypress-mailosaur) plugin adds the mailosaurGetMessage command. Under the hood this command makes API calls to the Mailosaur service and enables you to receive Mailosaur emails directly in the Cypress test case. Continuing with the password reset scenario:
describe('Password reset', () => {
  ...

  it('Gets a Password Reset email', () => {
    cy.mailosaurGetMessage(serverId, {
        sentTo: testEmail
    }).then(email => {
        expect(email.subject).to.equal('Reset your password');
    })

  ...
}
Check out the complete list of Cypress’s built-in commands in the Cypress API reference doc. Cypress also hosts a plugin directory.
Next steps to test with Cypress
By now you should have Cypress up and running with your first test. You also have a sense of what end-to-end test actions you can automate with Cypress.
If you’d like to test an email flow with Cypress, check out our guide to Cypress email testing using Mailosaur.
You’ll learn how to quickly obtain an email address for testing purposes, and you’ll be able to leverage a customised Mailosaur plugin for a seamless email testing experience with Cypress.